If you master these 10 tips and tricks for Brigandine: The Legend of Runersia, you will be able to beat the game easily. No matter what difficulty you have set for your game.
Please note that the sequence of the tips and tricks does not signifies its importance, it just so happens to come across my mind as I type out the list 🙂
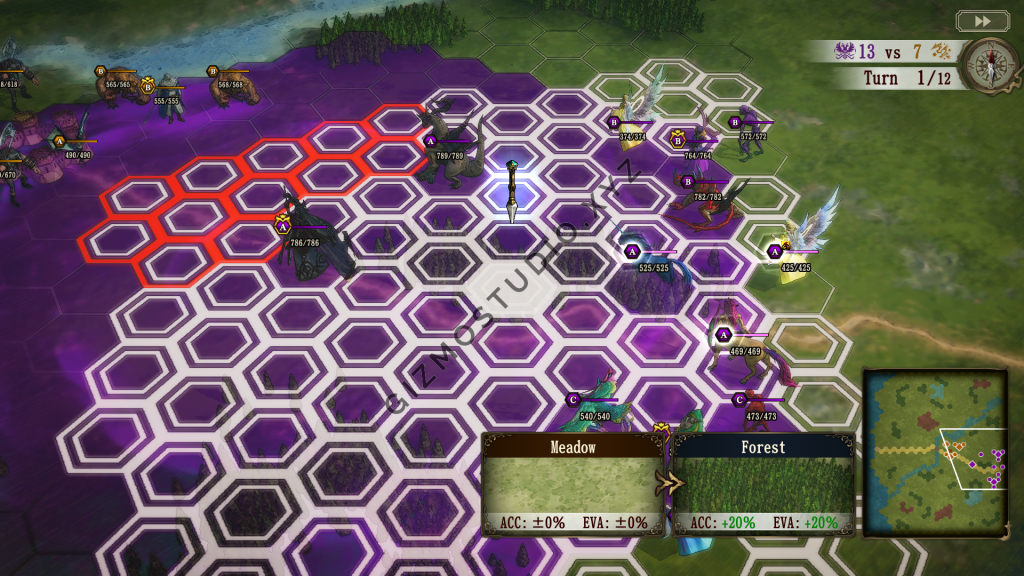
1. Check the terrain of the battlefield before battle, use units that suit the battlefield
Most people may not be concerned about terrains, but I thought it is super useful. While setting up your units’ formation, you can set it up around specific terrains.
For example, if you have some golems to stand in front of a forest, your enemy will not be able to reach the forest. Then, you can have centaurs standing in those protected forest with 20% bonus accuracy in shooting the enemies.
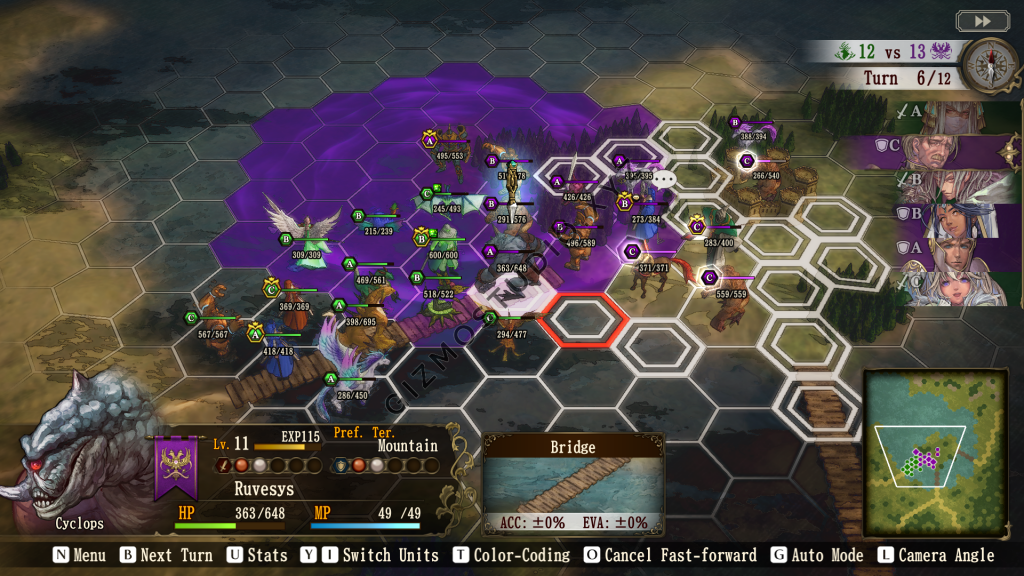
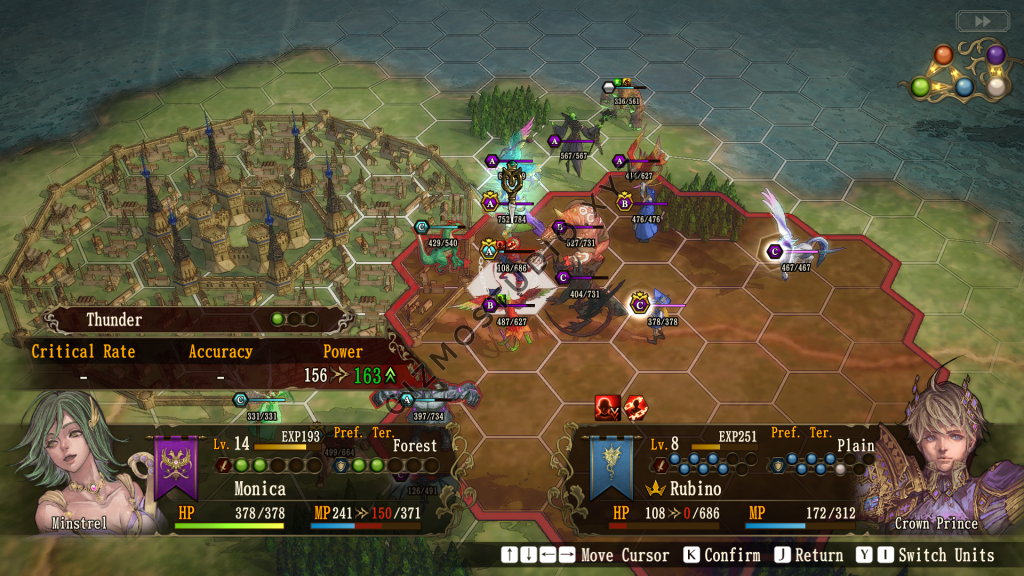
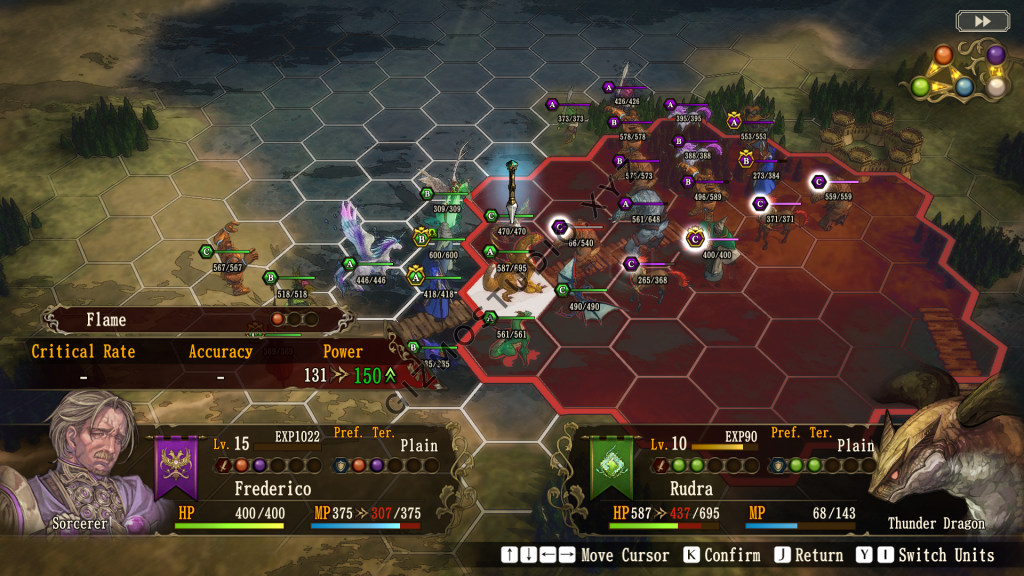
Other terrain differences also include water type, which is very useful! As shown below, I have a Cyclops standing on the bridge. I have a few other units, thankfully ranged and healers standing in the backline to provide backup.
Look, my opponents consist of mages, but they are unable to participate in the battle because of terrain constraints. Brigandine: The Legend of Runersia sure is fun 🙂
2. Deploy attacking troops from multiple castles whenever possible
This actually depends on playstyle but I think it is so effective that it deserves a mention.
Personally, I don’t group all my “strong” knights together. I split them up with other lower-level knights to strike a tactical balance. Therefore, when it is possible to deploy knights from two different directions, the enemies are going to suffer badly!
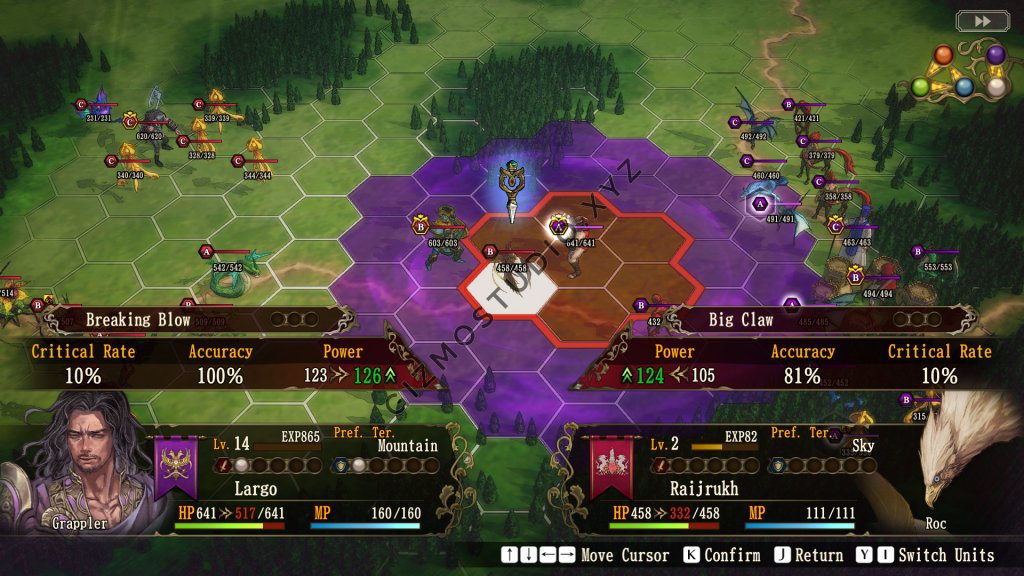
3. Make use of the simulated damage and critical percentage
This may sound like a no-brainer, but trust me, not everyone will read everything on the user interface!
Usually, I only prioritise attacks that are 100%. In the world of randomness, even 81% could result in a “miss”. Yes, this is common not just in Brigandine: The Legend of Runersia …
4. Utilise pincer attack buff, especially for hitting high evasion units
This is super important to know! Thank me later.
When I was playing the game for the first time, I was using Norzaleo Kingdom like most people would! When I was facing the Shinobi Tribe, I was almost wiped out by Uncle Toby and Della. Almost none of my units were able to touch them.
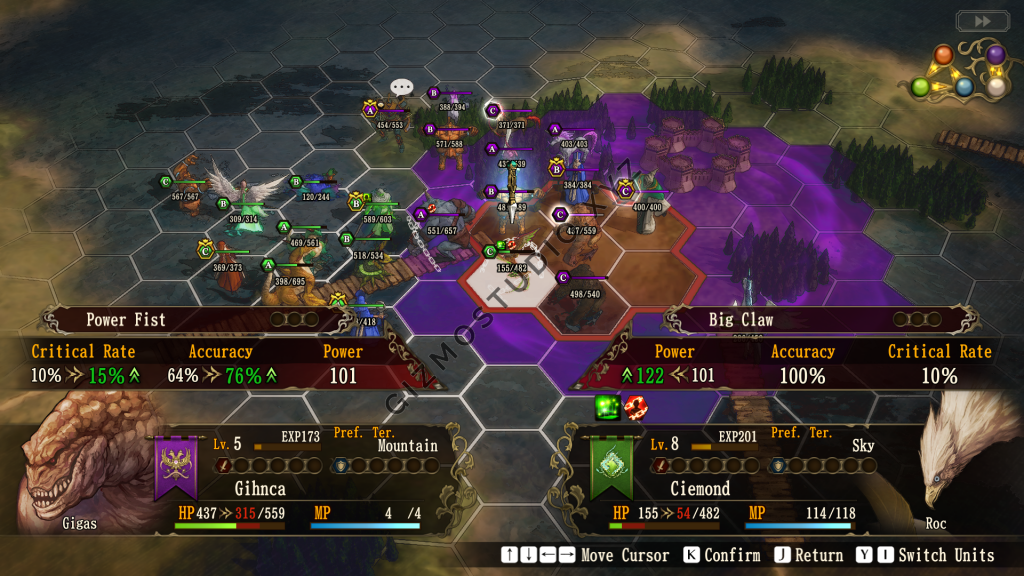
The differences play out much bigger depending on the units in the equation!
5. Always bring healers or unicorns to battle and plan your MP well
In one of my playthroughs, I had a very strong attacking team of monsters and managed to score multiple wins in a row. However, when I finally met a team with very good defensive capabilities, I realised that my team lacks a healer. It was disastrous!
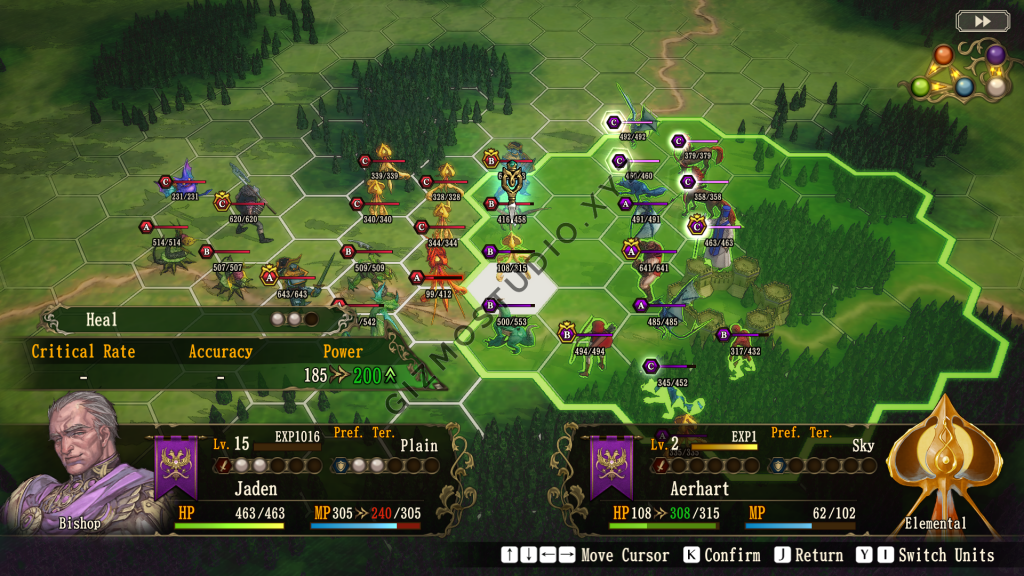
I also mentioned that planning of MP is important because a normal unicorn can usually only cast “heal” 3 times in a battle. If you use your cards properly, it could help you win the battle.
6. Keep to the least amount of front-line castles as possible
This part resembles playing a game of chess, but if you do not play any chess, you can also understand it well. Brigandine: The Legend of Runersia world map is like a game of chess.
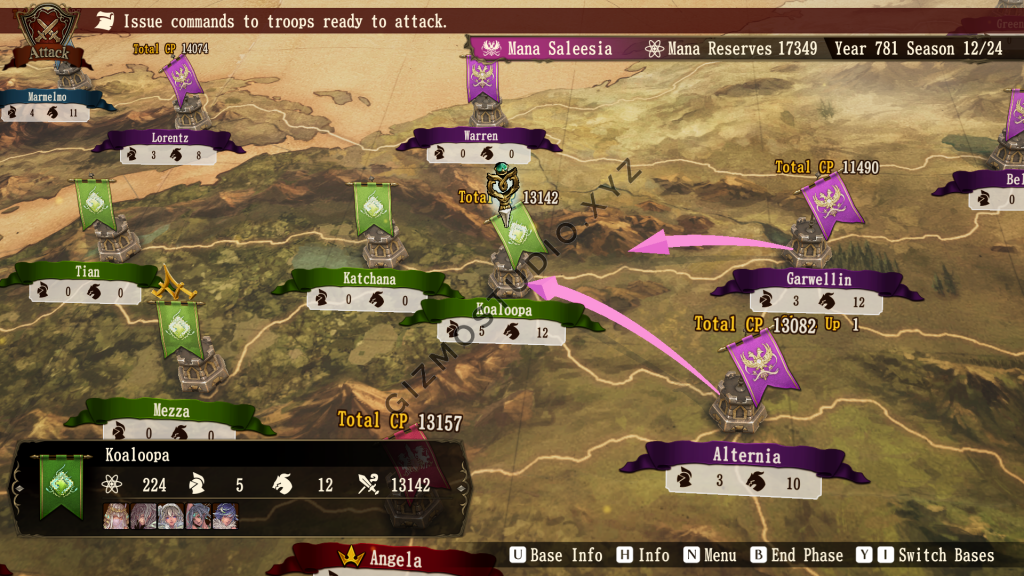
Basically, you keep yourself exposed as little as possible while holding on to as many castles as possible. Each castle you hold will give you mana income (in-game currency), which you will require to buy more or upgrade any monsters.
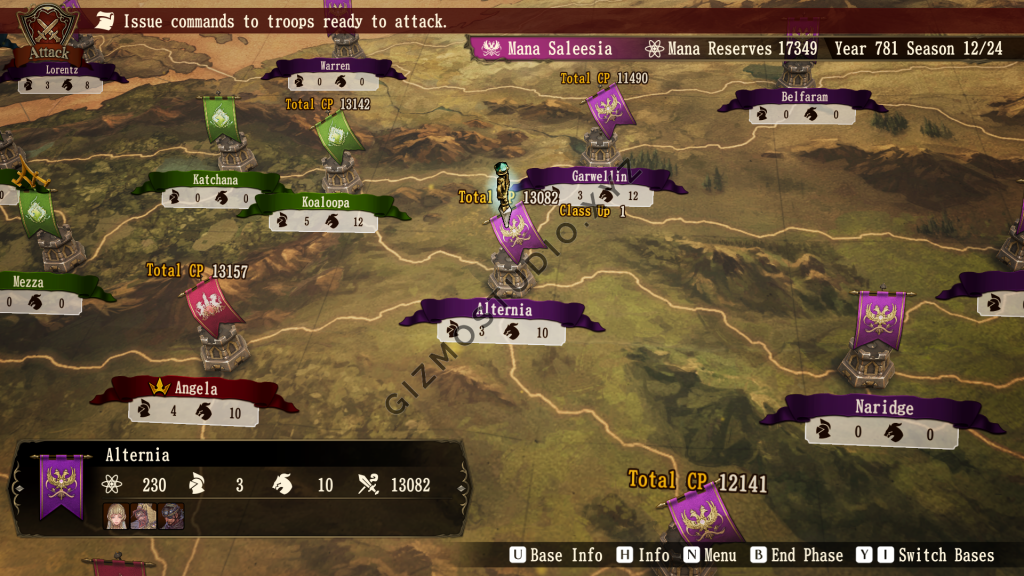
An example is shown above, if you attack Angela using troops from Alternia, you will have to guard Angela after you won the battle. Concurrently, you will also need to defend Alternia from Koaloopa. If Koaloopa conquers Alternia, your troops in Angela will be left “unconnected” to the main unit. If they lost in a battle, they will not have the “retreat” option. They only have the “force retreat” option which is not as good and may result in the loss of monsters.
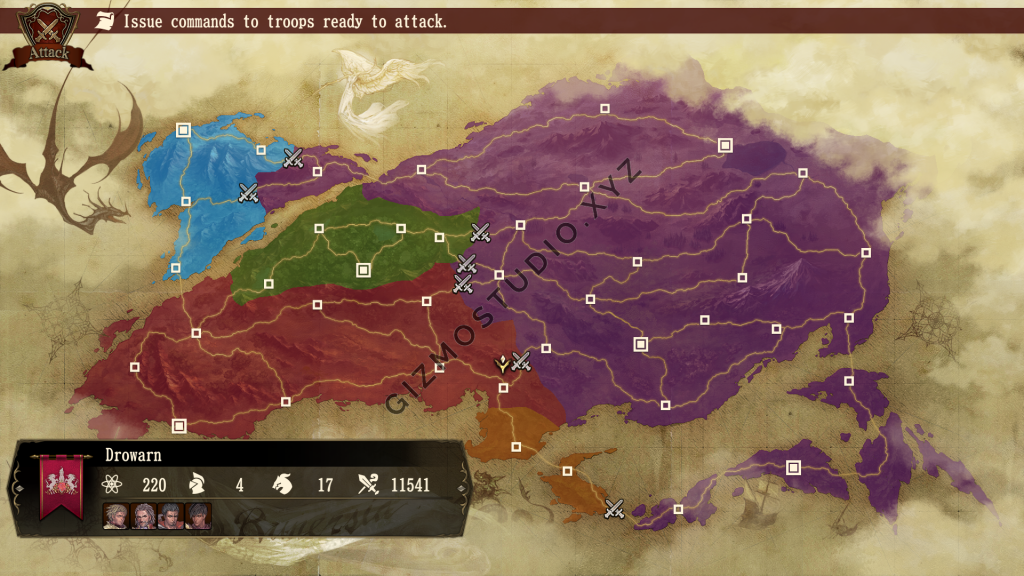
7. Be aware of the mana income of each castles when deciding targets
If conquering castle A and castle B has the same outcome, it doesn’t matter which one you choose. But if conquering castle A gives you more benefits than castle B, there is no reason to choose castle B over castle A. Benefits such as more mana income is a good reason!
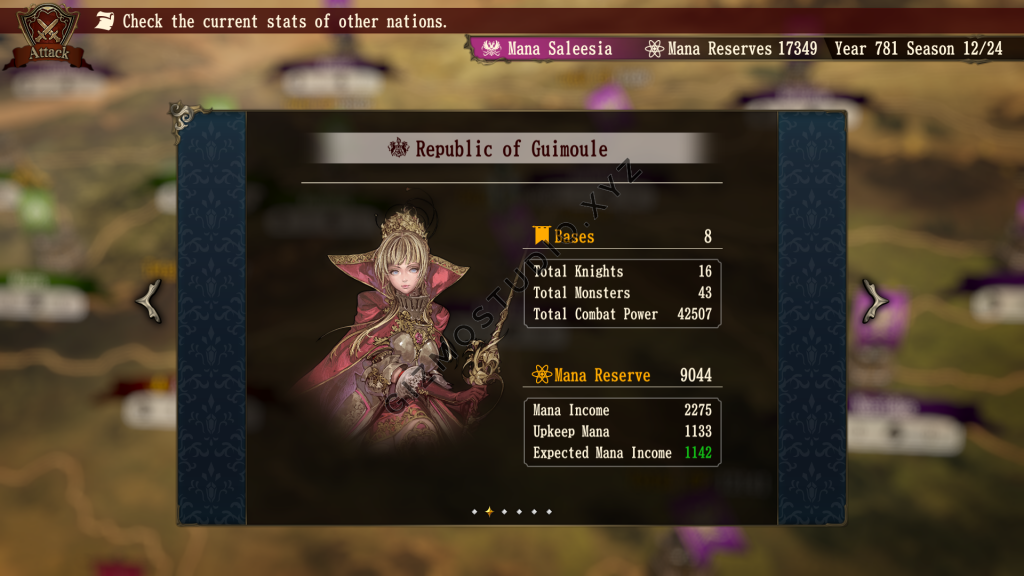
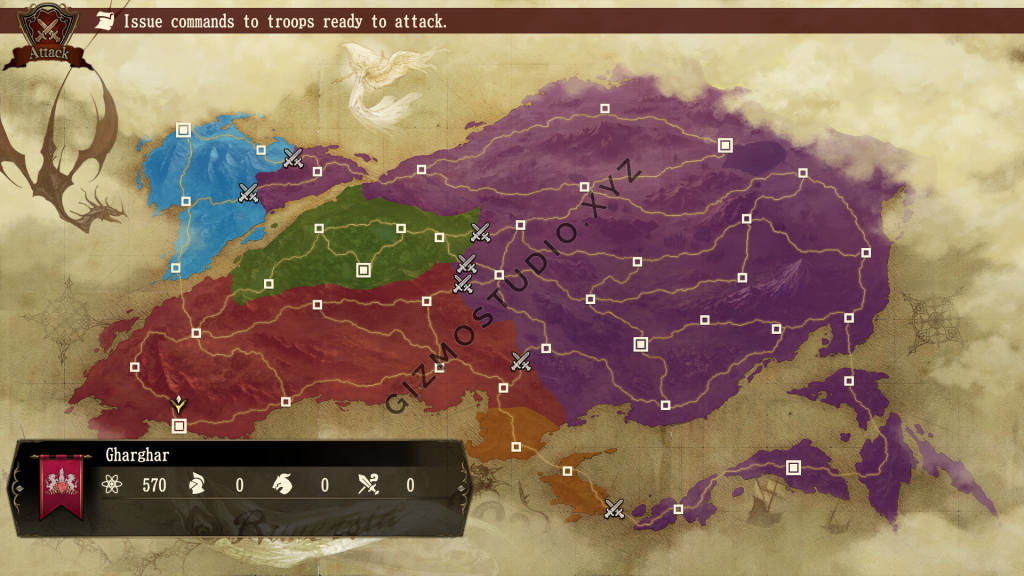
Let’s compare the following two castles and look at their mana income, if you get to choose to have one of them, which one would you choose:
8. Whenever possible, cut off enemy supply chain and make them forced retreat
As explained in tips number 6, castles are usually connected together and “linked” to their main forces in the frontline. When a castle is being cut off from their allies in their supply chain, they can no longer retreat in a battle. That is, in a battle, they will not have the “retreat” option.
They only have the “force retreat” option which is not as good and may result in the loss of monsters.
9. Lure the leaders to the front
If the enemy leader is on the battlefield, can consider luring them up front and defeat them first.
This is usually the case when I am fighting against nations like Norzaleo Kingdom and Holy Gustava Empire. I would plan their movement range nicely and lure them out to the front.
My personal experience when using Norzaleo Kingdom and fighting against the Holy Gustava Empire. After I have defeated Tim, he left the battlefield with everyone else except his Bahamut.
10. Try to set up a defensive line whenever possible
Melee units at the front, range units and healers at the back, flying or high movement units at the side for flanking.
This formation will always work, no matter what terrain you are in, some might be slower but it is always effective.
Well, having a golem standing at the back is not useful. I don’t like to use a basic golem, because their 3 movement range is really too slow in an attack. I need to evolve them at least once to make their movement range become 4 to actually find them useful in an attack.
Well, I hope my top 10 tips and tricks for Brigandine: The Legend of Runersia is useful to you!
If you like this post, please also do read my game review for Brigandine: The Legend of Runersia:
Leave a Reply